Search This Blog

Thursday, July 26, 2012

Chicken Cordon Bleu

I know it's summer time. And I know heavy meals are usually frowned upon. And should especially be frowned upon by me who has been subjected to 100+ weather for the past two months. I can't help myself, however, I love Chicken Cordon Bleu, and I despise having to wait for fall/winter before I can enjoy certain meals. So I crank the A/C (look how green I am?) and enjoy my meal. Because, honestly, who wants to melt while they eat? Not I!

I love cooking homemade meals, and since my husband has started working the afternoon shift, I have had to make all the meals ahead of time so he has something other than freezer meals to eat at work.

I love experimenting with mashed potatoes, I have yet to find the perfect recipe but the recipe below is my favourite one so far. I also paired the meal with fresh homemade lemonade. But that's a secret recipe.

Not pictured with the meal is the awesome fresh side-salad we had with it. I absolutely love fresh ingredients and I wish I lived in a place where they were available all year long, but, alas, midwest living will have to suffice for now.


Chicken Cordon Bleu
Ingredients:
2 large chicken breasts
3 oz cheese (I used Colby Jack, but Mozzarella will work too)
1 Clove garlic, minced
3/4 cup breadcrumbs
1 Tbsp dried Italian herbs
3 oz ham (I used deli sliced)
Egg wash (1 large egg + 1 Tbsp water)
Salt and Pepper to season

Directions:

1. Butterfly each breast by cutting it almost in half with a sharp knife. Putting it in the freezer 30 minutes before cooking will help with this step.

2. Lay each butterflied chicken breast flat. Season with salt and pepper. Sprinkle the cheese inside the ham and roll ham. Place ham and cheese roll inside chicken. Fold all the pieces of meat to the center so it overlaps. Place seam side down.

3. Mix crumbs with Italian herbs. Dip stuffed chicken breast (making sure to hold the chicken and ham in place) into egg then into crumbs making sure to thoroughly coat it.

4. Place on baking sheet, and bake at 350 degrees or about an hour or until inserted meat thermometer reaches 175 degrees.


Cheesy Mashed Potatoes
Ingredients
6 medium sized potatoes, peeled and diced
1/2 cup butter
3/4 cup Cheese

Place potatoes in water, boil for 10 minutes. Drain potatoes and return to potato. You can either use a hand mixer/stand alone mixer, or a potato masher if you prefer more lumps in your mashed potatoes. While mashing the potatoes add the butter until it is melted and then add the cheese. They are going to get sticky pretty quick so just stir it until the cheese is blended throughout.

Wednesday, May 16, 2012

Homemade Puzzles

I decided to take a break from cooking today to post a craft that I did with my son the other day. He really likes coloring and puzzles, so I decided to combine the two.

Homemade Foam Puzzles (Ages 2-4 years):


Supplies:
Foam Paper
Printer Paper
Printer (optional)
Scissors
Crayons/Paint/Markers/Colored Pencils

I bought a package of 45 Foam Sticky paper. There is a sticker on the other side that you just peel away. I bought the size that was about half a page big. It comes in a bunch of different colors and was only $3 at Wal*Mart.


 So after I selected my color (Not really important),
I got a piece of white paper, and measured to make sure it 
was only half the page. If you want, you can print
off a picture instead of drawing it yourself.

I just used my ordinary kitchen shears to do all the cutting


I drew a picture onto the white paper and then removed
the adhesive protector from the foam paper and put my
picture on. Again, you can just print something off.


We used Crayon's for this project, because they offer
me the least amount of mess for the brightest colors.
But you can use paints, markers, etc.


Then we got him to color in his picture however
he wanted.


I helped him a bit, but I think he did a good job.


Then draw puzzle shapes onto the paper/foam
and cut it out.


Viola! An inexpensive way to make puzzles 
and have craft time with your kids


Enjoy!

Monday, February 13, 2012

Wacky Cake

A lot of people love chocolate on Valentine's Day, especially chocolate cake. If you are running low on time this Valentine's, and you want a lighter version than the store bought cakes, this is a cake you will love! Growing up this was one of my favorite cakes to make, because it takes five minutes to prep, which is awesome when you are super busy! This is also a great cake to do with your kids, simple, not a whole lot of mess and only one bowl to wash!


Also, for the moms with kids who have egg, or milk allergy, this is a recipe for you! It is light, and fluffy, and the edge of the cake hardens just enough to give a nice chewy texture.
I'm not a big fan of chocolate, and I was too lazy to make my 7-minute frosting tonight, and with this pregnancy I've been digging the fruits, so I added some cherry pie filling to the top and it gave it a rich, not too sweet flavor that I loved!


This is actually the brain child of a woman from the depression, ingredients were expensive so they had to make due with what they had, hence the no-eggs, no-milk. All you need to do is sift the dry ingredients together, and make sure you sift them! I was dumb and didn't think about it and my cocoa has apparently decided to clump inside the canister.


Mix all the dry ingredients together, and then using a spoon, hollow out three circles in the middle of the ingredients. It helps if you have one that is fairly deep and wide for the vegetable oil. Then you add the three wet ingredients - oil, vanilla and vinegar into the holes. 


Pour the cup of cold water over all the ingredients and try to mix it as well as you can, especially the bottom of the bowl because it tends to get sticky.

Pour the batter into a greased 8x8 pan. Cook for 35 minutes, it turned out perfect at 35 minutes, but if you oven cooks too hot, I'd definitely check it at 30 minutes.
Once it's done, let it cool and ice/frost it with whatever frosting or topping you'd like! It is such a light, fluffy cake that it doesn't make you feel like keeling over after you eat it.

Enjoy!


Wacky Cake

Ingredients:
1 1/2 Cups Flour                                          
1 Cup Sugar
3 Tbs Cocoa                                                  
1 Tsp Baking Soda
1/2 Tsp Salt                                                    
6 Tbs Vegetable Oil
1Tbs Vinegar                                                  
1 Tsp Vanilla
                                           1 Cup Cold Water


Directions:
1. Sift together and make 3 holes in dry ingredients
2. In first hole, pour vegetable oil
3. In second hold, pour vanilla
4. Third hole, pour vinegar
5. Pour the cold water over all the ingredients
6. Mix well with a fork or whisk, but do not beat.
7. Pour into greased baking dish (8x8 dish) for 35 minutes at 350 F. You will know when it's done if you insert a knife or toothpick and it comes out clean.
8. Allow to cool, frost and enjoy!

Tuesday, December 13, 2011

Nanaimo Bars

For those of you who aren't Canadian, you may not understand the love of these bite size, creamy, wonderfully rich bars, but anyone who has grown up around them, it is pure magic in bar form. I had to resist the temptation after each layer not to sit on the floor and eat it all. I did however say, "OH MY GOSH! It tastes like Nanaimo bar!!!", as though it would taste like anything else. These are incredibly easy to make, plus, with all the other Christmas baking you are doing, a no-bake option is WONDERFUL. Especially if you live in a tiny apartment that heats up to 500 degree if the oven is on for longer than 20 seconds.

The only bad thing about not being in Canada to make these (but really, who would make them if you could buy them from M&M all frozen and pre-cut?), is that some of the ingredients may be hard to come by. Such as the custard powder. I've heard other people have used instant vanilla pudding, but really...That's not Bird's Custard Powder, that's pudding. You can find it at British food stores, and some culinary stores carry it as well. Or you can order it off Amazon.com for $4. VERY worth it!

Life is complete if you have a nanaimo bar and a tall glass of milk.

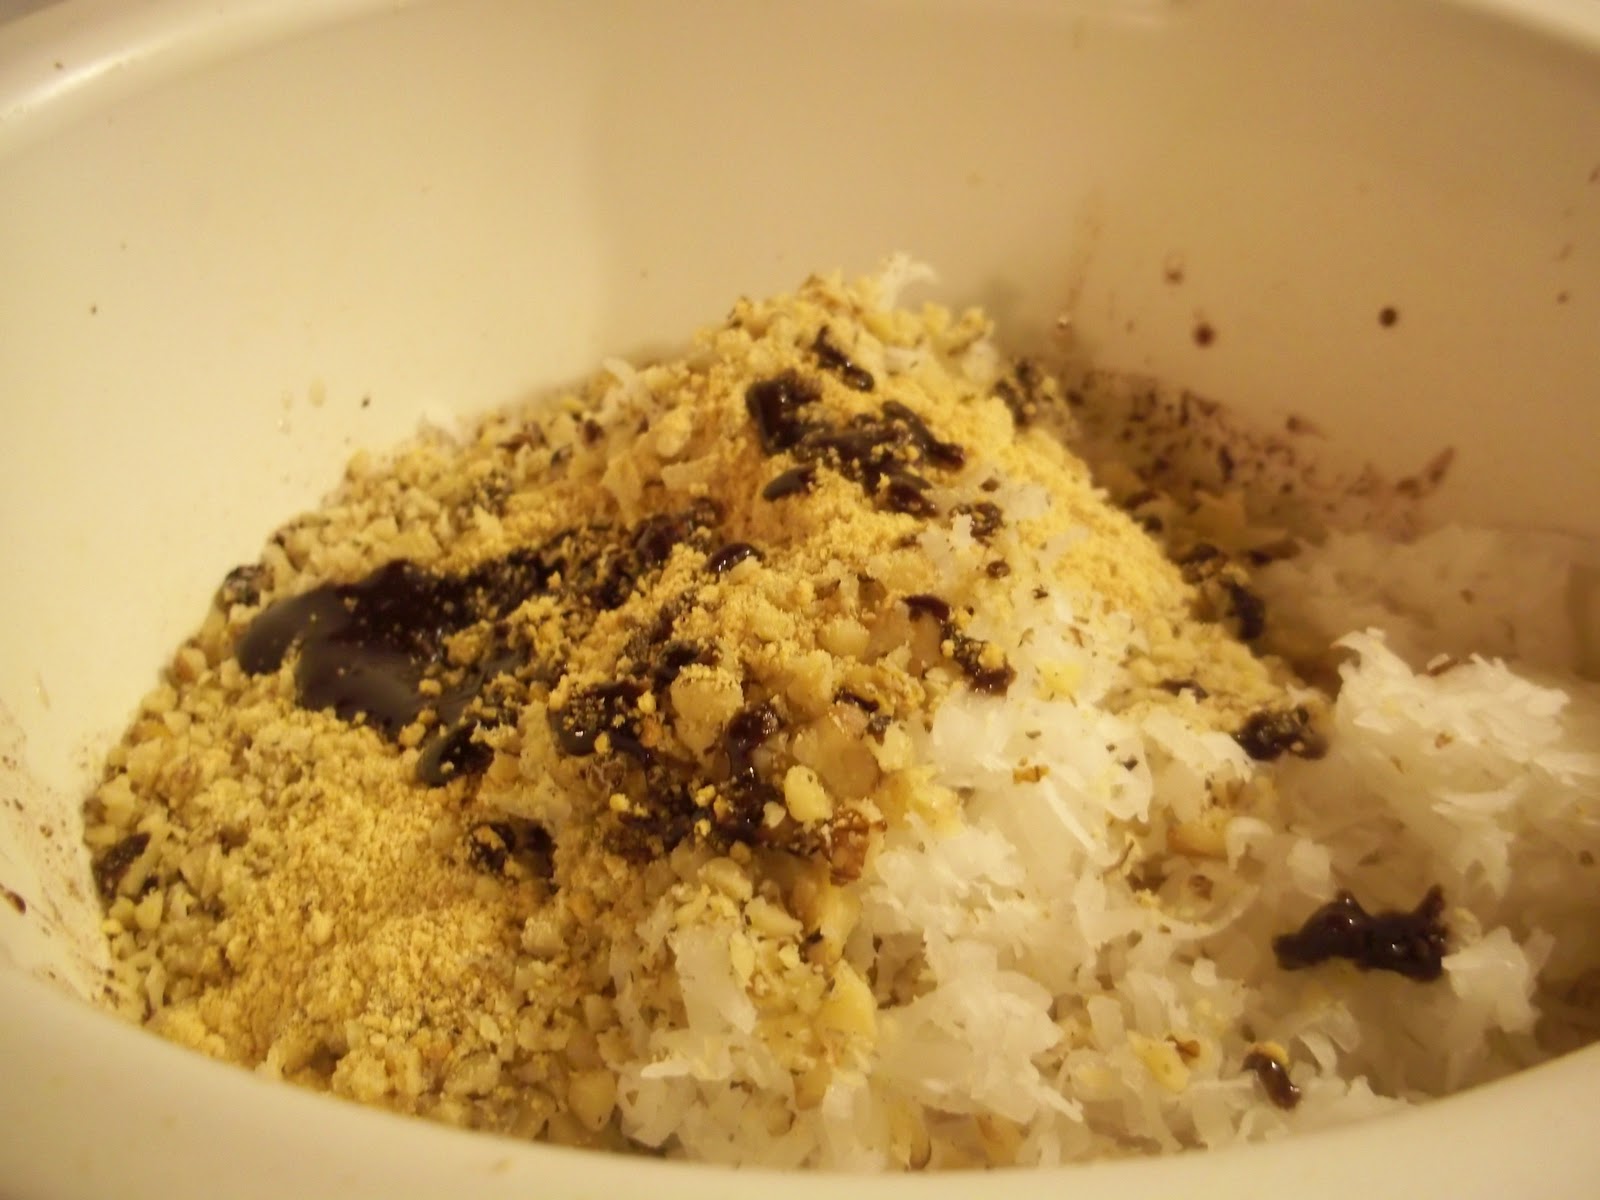
To make the crust, nuke the butter, brown sugar, and cocoa in the microwave for 30 seconds, I was worried that wouldn't be long enough, but after I stirred it for a few minutes and it came together really well. I was scared of raw eggs (I'll have to tell you about my phobia another time) so I threw it in there for another 15 seconds just to heat it up. Quickly whisk in the egg, and it turns all beautifully chocolate-y. Add the graham cracker crumbs, coconut, and chopped walnuts and mix together!


A lot of people were worried about the coconut flavour, but seriously, you can't taste it. It's just plain delicious. Would I lie to you?

Use a fork to smash it into an 8 x 8 pan. I had to cut the sides of my parchment to make it fit a bit better, but it worked for me!


Stop eating it. Right. Now. I know, I know...The crust is delicious, but it needs to cool in the fridge for half an hour. Put it there. Go on. Do it.

I'm going to take a moment to make you realize something very important. Bird's custard powder is the bomb. Yes. It is the only way to make these Nanaimo bars. I've tried the instant vanilla pudding and it was NOT a Nanaimo bar. But Birds? Yeah, that guy's alright.


Using a hand mixer, mix together on slow speed the powdered sugar, butter, and custard powder (it's a pretty pink too!), after it's combined, turn up the speed to medium/medium high and slowly add the cream until it's nice and fluffy. Stop. Eating. It. I'm serious. You won't have any left for the final product!


Put it onto the crust layer, smooth it out and put that puppy back in the fridge for another half hour.


The final step requires 1/3 cup of chocolate chips, or rather 2/3 cup of chocolate chips, since you'll most likely munch on a few. Everyone does it, or am I projecting my guilt onto others? No. No. You do it.


Mmm. Chocolate drizzle. (I hate chocolate, but it looks good!)


Let the chocolate set, it takes about an hour to an hour and a half. Once it's set, run a fairly sharp knife under hot water and beginning cutting squares, and after each cut, clean the knife off.This way the chocolate won't crack.


And there you go. Wonderful. Happy. Delicious. Nanaimo Bars


Nanaimo Bars
Original recipe found at http://bakedbree.com

Ingredients:
Crust -
1/2 Cup Butter                                     1/4 Cup Brown Sugar
3 Tbs Cocoa                                          1 Egg
2 Cups Graham Cracker Crumbs         1 Cup Coconut
1/2 cup Chopped Walnuts                  
Middle Layer -
2 Cups Powdered Sugar                      1/4 Cup Butter
1/4 Cup heavy cream                           2Tbs Custard Powder
Chocolate Layer -
3 ounces milk Chocolate Chips            1/4 Cup butter

Directions:
1. Crust - Melt together the butter, brown sugar, and cocoa in microwave for 30 seconds, stir, then put back in microwave for another 30 seconds.
2. Beat the egg, then whisk it slowly into chocolate mixture. Make sure it is well blended.
3. Mix in graham cracker, coconut, and walnuts.
4. Press crust into a 8 x 8 pan that has been lined with parchment paper. Put crust in fridge for at least half an hour.
5. Make the butter cream layer by creaming together the powdered sugar, butter, and custard powder. Using a hand mixer on medium to high speed, slowly add cream until it is light and fluffy, about 5 minutes.
6. Spread the cream layer over the crust. Put back in fridge for another half hour.
7. Melt together chocolate and butter in microwave for 30 seconds. Pour over other layers and place back in fridge until chocolate sets (1 to 2 hours).
8. Cut into small squares, and keep in the fridge.

Saturday, November 19, 2011

Welcome to Delightfully Delicious!

I'm sure you've stumbled on this blog and are at the present, confused as to what I plan on doing with this tiny corner of web space.

I've been cooking since I had an Easy Bake oven with the 60 watt light bulb.


Although my passion for cooking and baking started long before that in a 70's wallpapered kitchen with my older sister, aunts, and mother cooking up Christmas goodies every year since before I was born. We all wore aprons (what's the point!?), would be up to our elbows in flour and sprinkles, cooking the hours away while my brother's and dad were off doing goodness knows what.

Those fond memories spurred my love for cooking and everything that is included when something is cooked well, such as happy tummies afterwards!

Please feel free to join me in my foodie quest for great recipes, easy recipes, recipes that make everyone around you go "ooo", and recipes that should have a lock-and-key on them because they are just too good.

Welcome! :)